Vancouver Home Staging and Decorating in Coquitlam, Port Moody, Port Coquitlam
  • Home
  • About
  • Services
  • PORTFOLIO
    • Before & After
  • Testimonials
  • Blog
  • SHOP MY FAVES
  • Contact

Welcome to My Blog!

Personalized Sequence Sun Hats

5/31/2017

0 Comments

 
Good Morning Everyone!! It has been a while since I wrote a blog... Things have been very busy around here, between being a Mom, Wife, Business owner, planning my Sister's Bachelorette Weekend in Vegas and now her wedding in July, I feel like I barely have time for sleeping!! 
I have to say I rather be this busy than not. I am grateful I have the opportunity to do all the things I love. 
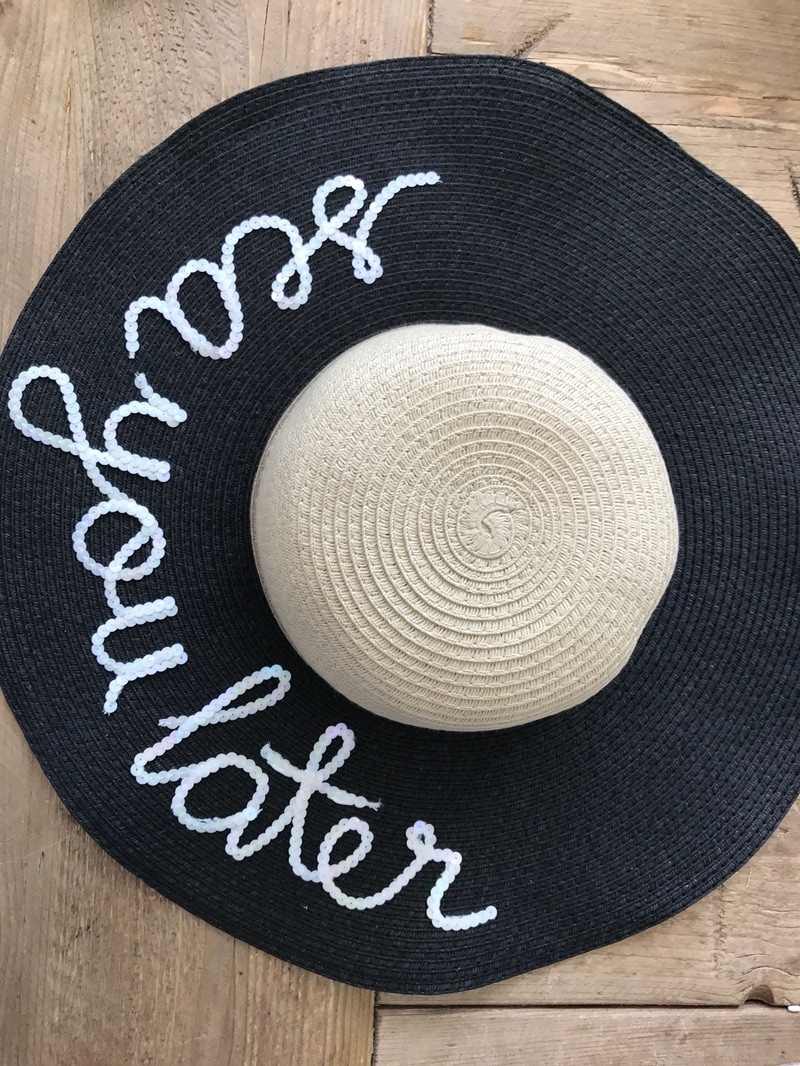
Ok... Last weekend we were in Las Vegas with all the girls for my Sister's Bachelorette party and I organized the whole weekend and made incredible personalized sequence sun hats for everyone!! The hats were a hit, the girls loved them and they were great for the sun when we were in the pool as there were very few shaded areas around the pool and the hats kept us cool and protected us from burning!! 
Definitely a great idea for party favours!!

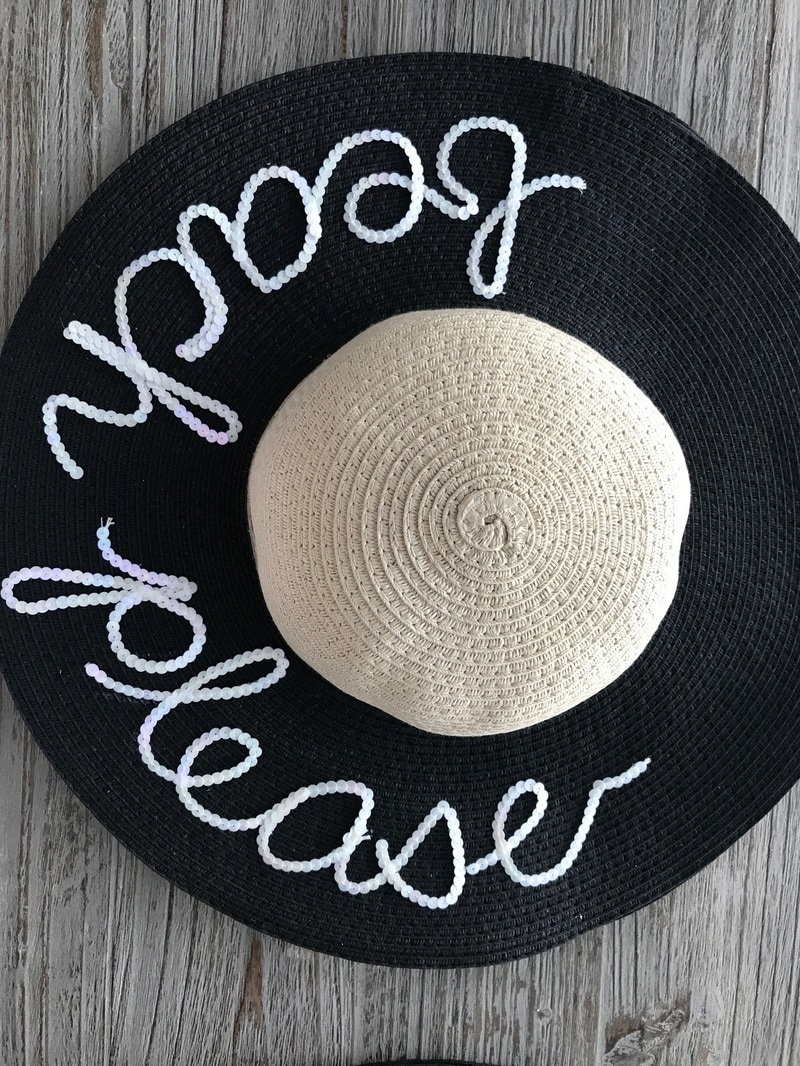
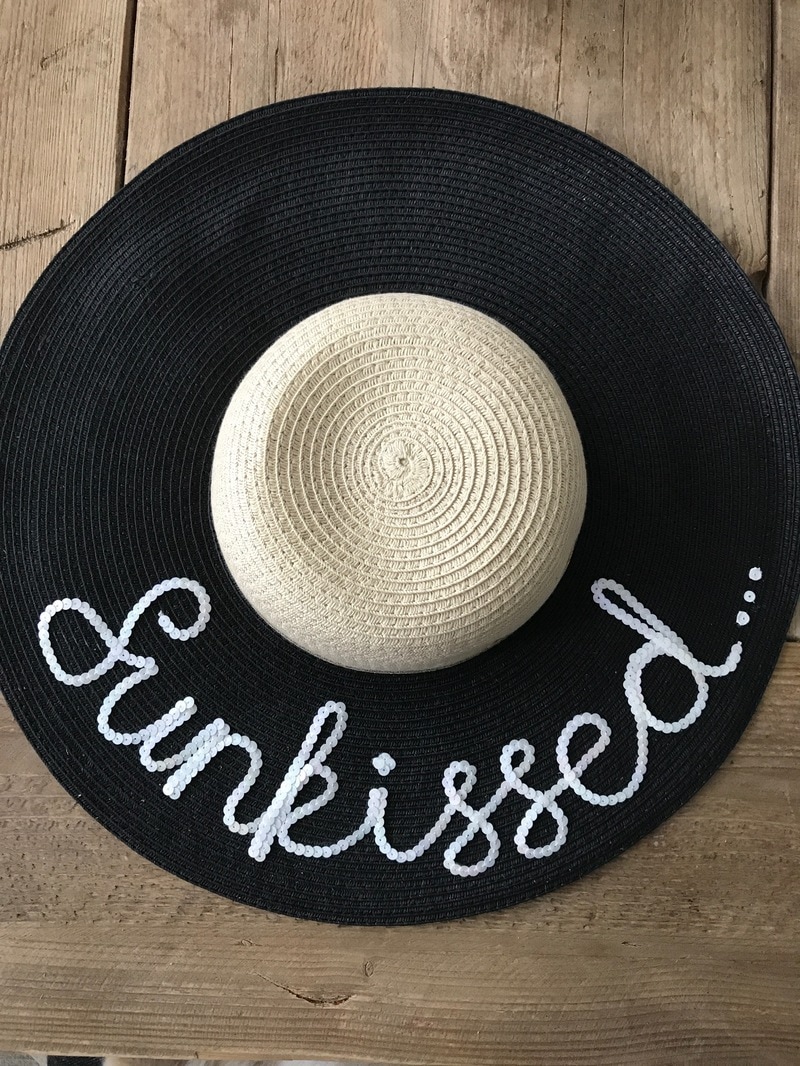
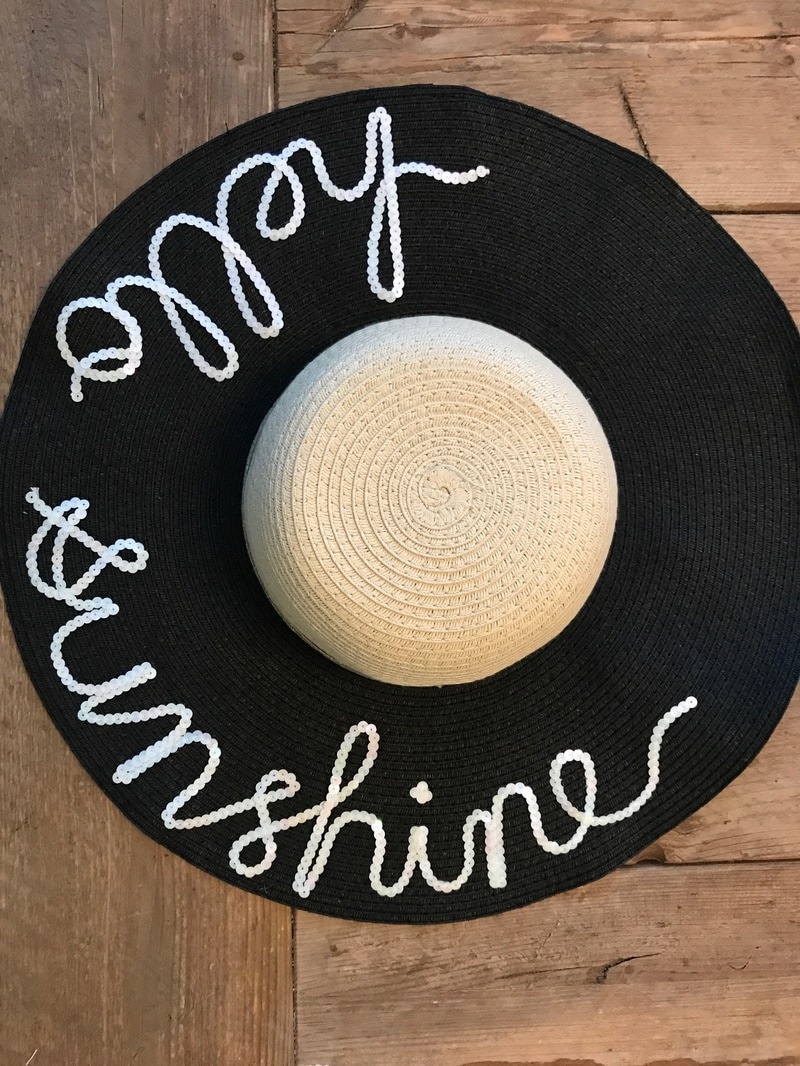
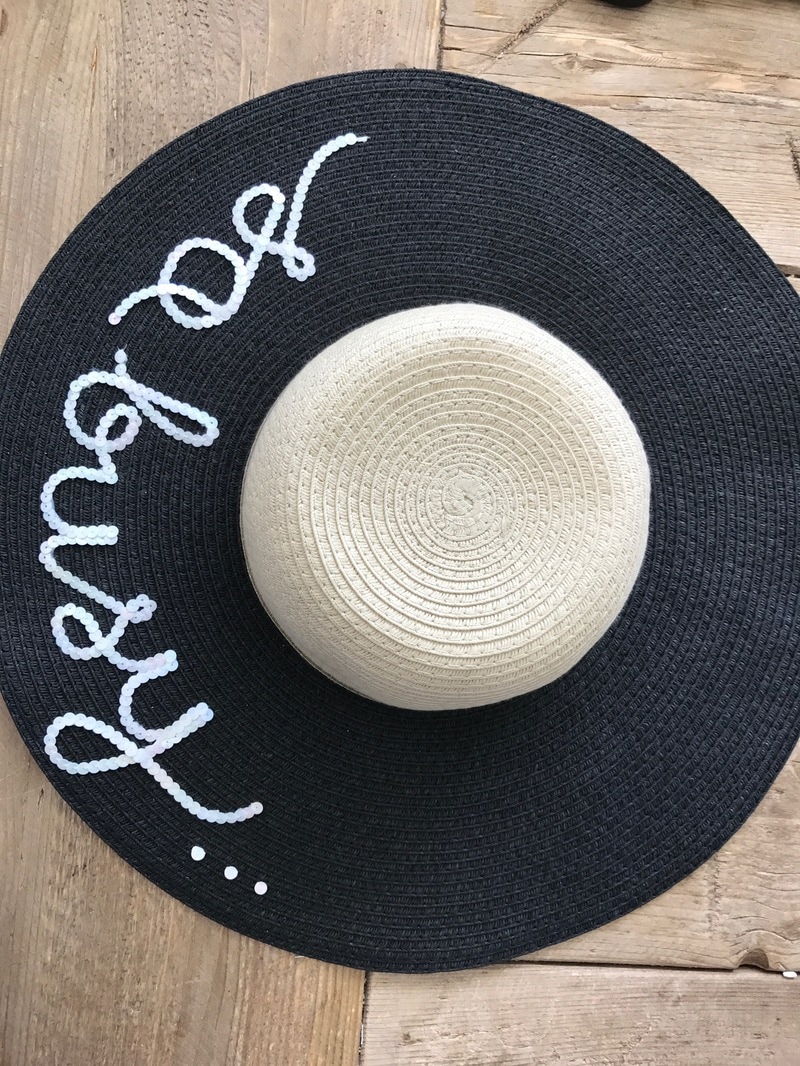
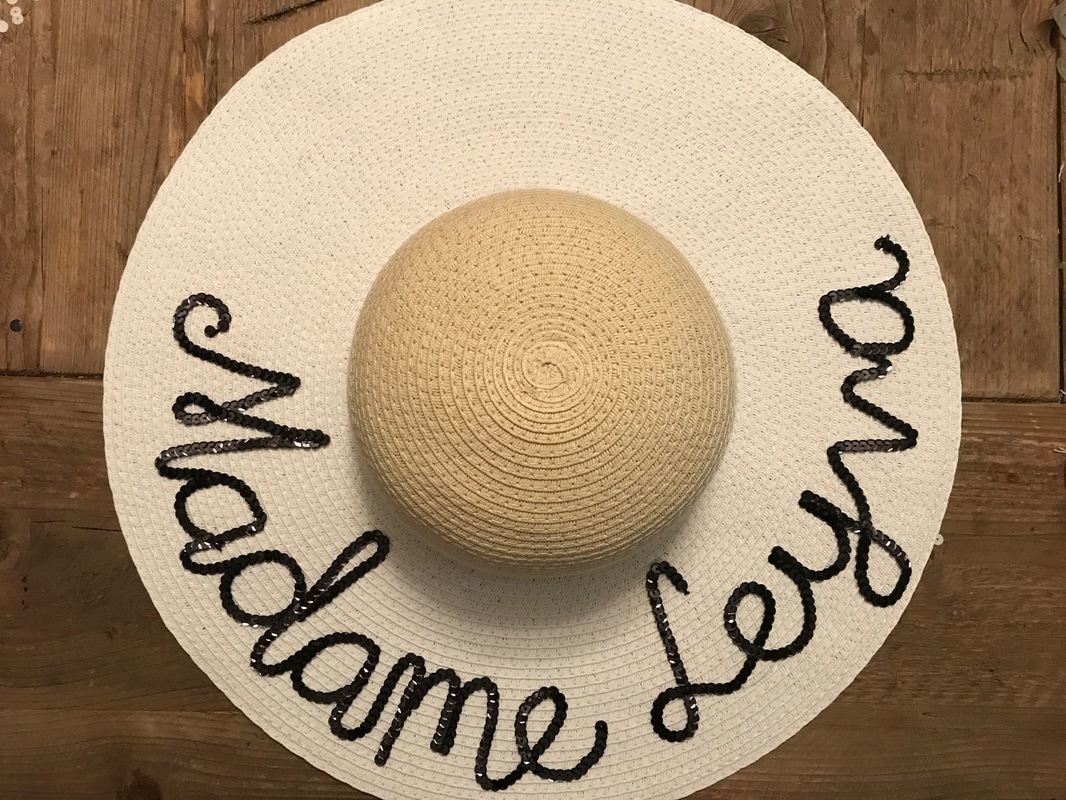
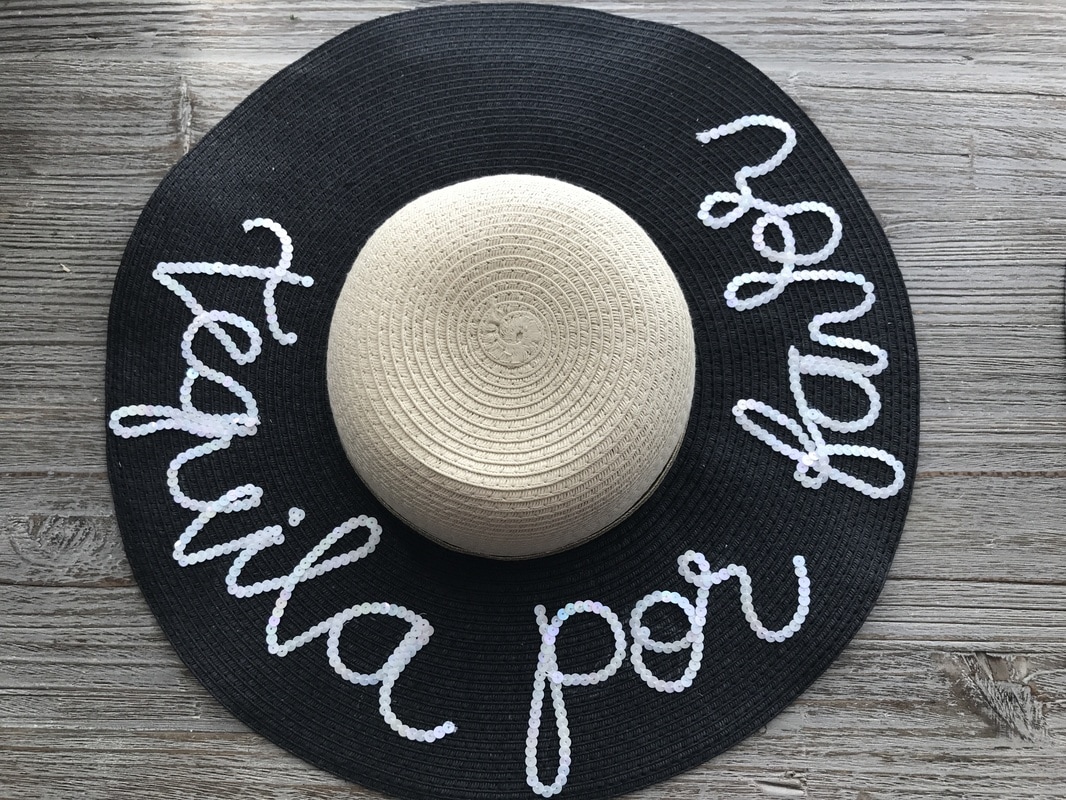
Here is a quick guide on how to make your own personalized Sun Hat.
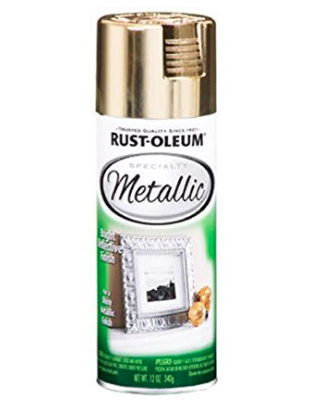
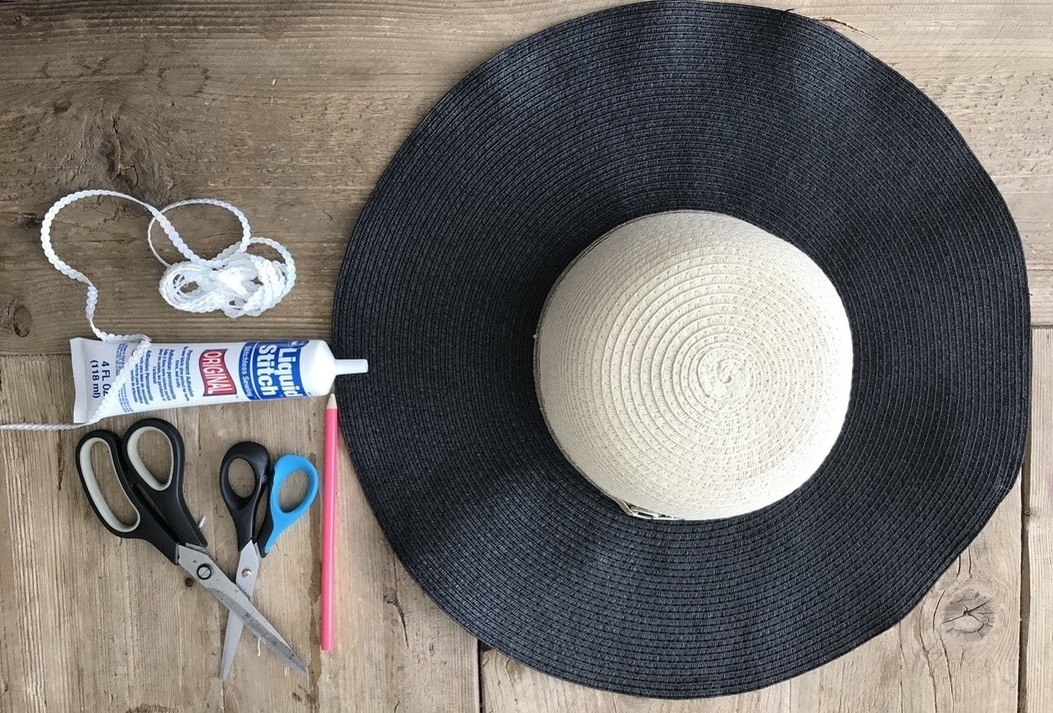
Picture

WHAT YOU WILL NEED:
​
  1. Plain sun hat 5' to 6" brim preferably.
  2. Sequence ribbon (your colour preference)
  3. Liquid Stitch Glue ( You can find it in Walmart or Michaels)
  4. Chalk pencil 
  5. Scissors
INSTRUCTIONS:
​
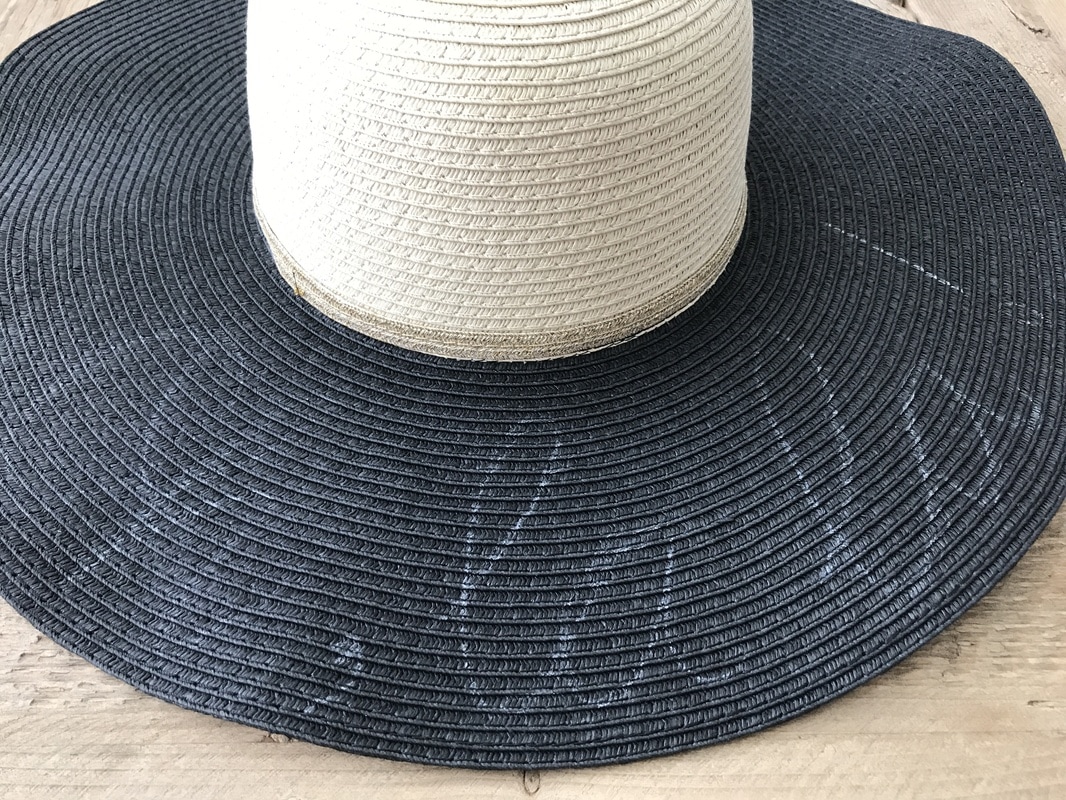
  1. Write down the phrase you want on your hat the way you want it to look.
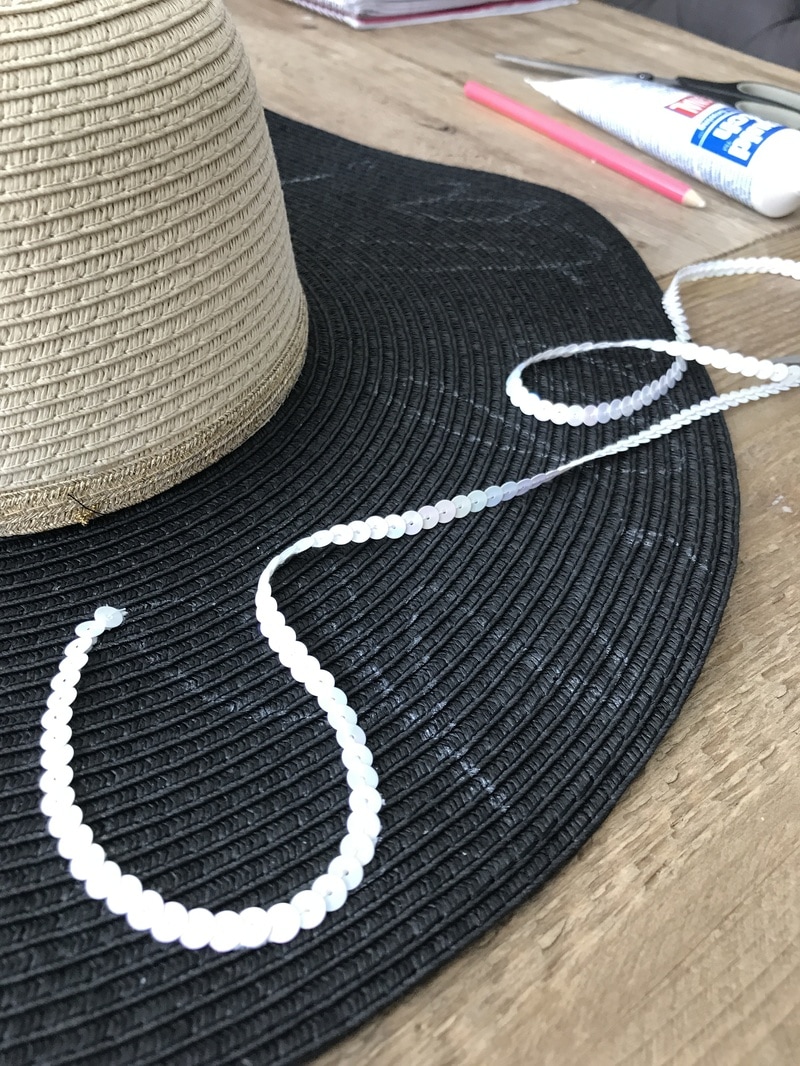
  2. Start slowly tracing the lines with the glue, one line at a time.
  3. Glue your sequence ribbon as you are tracing and wait a few seconds for the glue to dry before continuing to the next line. 
  4. Adjust your sequence ribbon as you are gluing and voila!! 
These Hats are super easy to make and so fun to wear! Give them a try!!
Let me know your thoughts... XO!
Picture
0 Comments

IKEA COFFEE TABLE MAKEOVER

3/12/2017

1 Comment

 
Happy Sunday All!! I have been wanting to share with you this Ikea hack I've seen on different sites. Last year I really wanted to get two coffee tables side by side for my living room but didn't want them break the bank.  As we all know coffee tables can be very expensive and needing two was going to be even more money.
​After doing some research, I kept seeing this Vittsjo coffee tables spray painted gold and I decided to give it a try!! 
I was very surprised to find out how fast and easy it was to get my tables done and how great they looked in the end.

Here is what you will need:

  1. Vittsjo Ikea nesting tables - $69.99 CAD
  2. Rust-Oleum Gold Spray paint - $11 CAD
  3. Cardboard or plastic to cover the floor.
Picture
FIRST STEP:  Build the Ikea Vittsjo nesting tables. Follow the instructions in the box, leaving the glass and bottom shelf aside.

SECOND STEP: Cover the floor with the cardboard or plastic to prevent painting the floor. Make sure to set this up outside, this way you won't breathe the fumes. 

STEP THREE: Read and follow the instructions on the can of paint, make sure to shake the can really well.

STEP FOUR: Spray your tables making sure you cover all sides, including underneath and hold your bottle about 10 inches away from your table to ensure a smooth application.

STEP FIVE: Wait roughly 30 min to apply a second coat and once you are done this step, let the paint dry for about 8 hours before handling the tables. 

STEP SIX: Once dry, place the white shelf on the bottom of the table and the glass on the top and Voila!!! 
Picture
Some people like to cover the bottom shelf with marble contact paper to give it that faux marble look, the other thing you can do, is to get a mirror piece custom cut for the bottom part of the table and this is a great look as well. I personally liked the white shelf and left it that way.
You can use these tables together as nesting tables or you can use the smaller ones as end tables in the same room or in a different room. I decided to use the smaller tables as nightstands for our spare bedroom : ) 
Picture
Picture
I did these tables last summer and I have to say that after cleaning them and using them every day, the paint is beginning to wear off of the edges so I will be re-finishing them this spring as soon as is warm outside. Overall I am really happy with the finished product and I get lots of complements on them!!
What do you think? If you are looking for affordable, beautiful tables, I highly recommend giving this Ikea hack a try!! 
Picture
1 Comment

    RSS Feed

    Author

    Hi, I'm Liliana McInerney a
    Professional Stager & Interior Decorator in the Tri-Cities of beautiful British Columbia. I love my job, husband, kids, dog, decorating and staging homes. Not necessarily in that order! :)

    Categories

    All
    Decorating Tips
    DIY
    Furniture I Love
    Home Decor
    Home Decor Trends
    Home Organization
    Home Staging
    House Tour Of The Month
    Keeping You In The Loop
    Luxe For Less
    Room Re-creation
    Seasonal Decor
    Spotted On Sale
    Target Tuesday

    Archives

    August 2018
    April 2018
    February 2018
    January 2018
    December 2017
    October 2017
    September 2017
    August 2017
    July 2017
    June 2017
    May 2017
    April 2017
    March 2017
    February 2017
    January 2017
    December 2016
    November 2016
    October 2016
    August 2016
    July 2016
    June 2016
    May 2016
    April 2016
    March 2016
    February 2016
    January 2016

    RSS Feed

Services

Home Staging
Furniture Rental
Interior Decorating
1 Day Consultation

Company

About
Blog
Testimonials
​Gallery

get in touch

Liliana McInerney
Professional Stager & Interior Decorator
Tri-Cities, British Columbia
Call 604.789.2056
email: [email protected]
Liliana McInerney in Coquitlam, BC on Houzz
Picture
Picture
© COPYRIGHT 2018. ALL RIGHTS RESERVED
Egami Creative Agency.
  • Home
  • About
  • Services
  • PORTFOLIO
    • Before & After
  • Testimonials
  • Blog
  • SHOP MY FAVES
  • Contact